Welcome to Fresher Living with Seal It.

🍓 Why You'll Love Your Seal It Vacuum Sealer
-
Keep Food Fresh up to 5x Longer
Say goodbye to freezer burn, soggy leftovers, and wasted groceries. Vacuum sealing locks in freshness, flavor, and nutrients — from weeknight meals to weekend camping trips.
-
Save Money & Reduce Waste
Buy in bulk. Store smart. Eat everything you buy — no more throwing away spoiled produce or forgotten meats.
-
Compact, Cordless, and Easy to Use
No outlets, no bulky machines. Seal It fits in your hand, your drawer, and your life — perfect for small kitchens, RVs, or outdoor adventures.
-
Versatile Beyond the Kitchen
Seal It isn't just for food. Protect travel essentials, toiletries, documents, or even camping gear from water and air.
-
Eco-Conscious Options
Use our reusable vacuum bags and seal jars or containers to cut down on single-use plastic — preserving both your food and the planet.
Get the most out of your Turbo Seal Pro
Takes one or two goes to nail — here's what makes the difference.
Run the sealing clip along the top 2–3 times before you start vacuuming. A gap at the top is the #1 reason seals fail.
Skip the sealing clip — if the zipper isn't fully closed before you vacuum, the seal won't hold. Full stop.
Hold the machine firmly down over the valve with steady downward pressure. Most people who struggle aren't pressing hard enough.
Use the machine flat on a table without lifting the bag. Place your hand underneath — the machine needs airflow to work.
Give the bag a gentle squeeze first to push out excess air. Less air to remove means a faster, tighter seal.
Overfill the bag. Leave 4–5cm of space between the food and the zipper so the top can close properly.
Charge fully before first use and before trips. The ring on top turns blue when it's ready — that's your signal.
Use the machine while it's still on charge. Unplug it, wait for blue, then go.
Pat wet foods dry before sealing — fish, marinated meat, anything damp. Moisture at the zipper breaks the seal before you even start.
Pour liquids or soups in directly. Freeze them first, then vacuum seal once solid.
Leave headspace at the top — about 70% full is the sweet spot for a clean seal.
Seal leafy greens or carbonated items. Delicate leaves bruise under pressure. Carbonated drinks can't be sealed safely.
Hand wash bags in warm soapy water, rinse, and air dry fully. Treat them like a good food container and they'll go 30–50+ uses.
Put the bags in the microwave with the zipper closed. Always open the zip fully before microwaving.
Push the green valve cap back on firmly if it falls off — it's designed to reattach. Your bag is still good.
Ignore a unit that runs but doesn't pull air. That's usually a cracked nozzle — email hello@sealit.com.au and we'll send a free replacement.
Give it a second attempt if the first seal isn't tight. Check: clip closed, pressure applied, bag lifted. Third try is almost always perfect.
Expect it to be instant. Most new users need 1–2 goes to nail the technique — that's completely normal.
Run the sealing clip along the top 2–3 times before you start vacuuming. A gap at the top is the #1 reason seals fail.
Hold the machine firmly down over the valve with steady downward pressure. Most people who struggle aren't pressing hard enough.
Give the bag a gentle squeeze first to push out excess air. Less air to remove means a faster, tighter seal.
Charge fully before first use and before trips. The ring on top turns blue when it's ready — that's your signal.
Pat wet foods dry before sealing — fish, marinated meat, anything damp. Moisture at the zipper breaks the seal.
Leave headspace at the top — about 70% full is the sweet spot for a clean seal.
Hand wash bags in warm soapy water, rinse, and air dry fully. They'll go 30–50+ uses.
Push the green valve cap back on firmly if it falls off — it's designed to reattach.
Give it a second attempt if the first seal isn't tight. Check: clip closed, pressure applied, bag lifted.
Skip the sealing clip — if the zipper isn't fully closed before you vacuum, the seal won't hold.
Use the machine flat on a table without lifting the bag. Place your hand underneath — it needs airflow to work.
Overfill the bag. Leave 4–5cm of space between the food and the zipper.
Use the machine while it's still on charge. Unplug it, wait for blue, then go.
Pour liquids or soups in directly. Freeze them first, then vacuum seal once solid.
Seal leafy greens or carbonated items. Delicate leaves bruise under pressure.
Put the bags in the microwave with the zipper closed. Always open the zip fully before microwaving.
Ignore a unit that runs but doesn't pull air — that's usually a cracked nozzle. Email hello@sealit.com.au for a free replacement.
A heads up on smell
Vacuum sealing locks in freshness — and that includes smell. When you open a bag of sealed salmon, onions, or strong cheese, expect the aroma to hit you. That's not a sign something's wrong, it means the seal worked perfectly. The smell was contained, not eliminated.
Dry completely before reusing
After washing, make sure your bags are bone dry before putting food in or storing them. A damp bag sealed in the freezer can develop odour or affect the food inside. Stand them upright, open, and give them a few hours of air — then they're good to go again.
Troubleshooting Common Issues
-
 EOFY Sale
Turbo Seal Pro™ Camping Bundle
Regular price $97.20 AUDRegular price$162.00 AUDSale price $97.20 AUDEOFY Sale -
 EOFY Sale
Turbo Seal Pro™ Home Bundle
Regular price $84.00 AUDRegular price$140.00 AUDSale price $84.00 AUDEOFY Sale -
 EOFY Sale
Turbo Seal Pro™ Ultimate Bundle
Regular price $115.20 AUDRegular price$192.00 AUDSale price $115.20 AUDEOFY Sale -
 EOFY Sale
Turbo Seal Pro™ Starter Bundle
Regular price $50.40 AUDRegular price$84.00 AUDSale price $50.40 AUDEOFY Sale


-
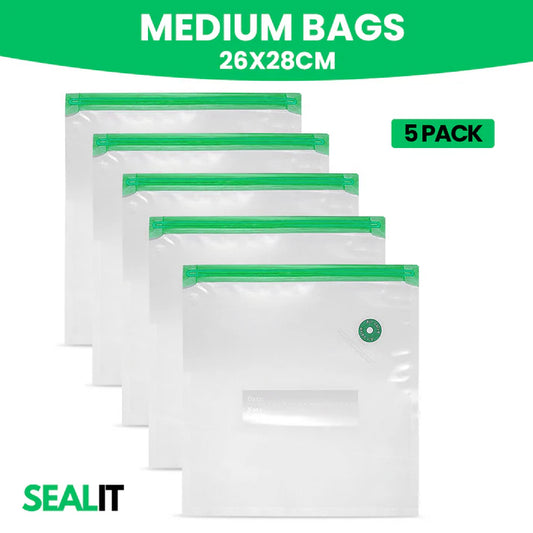
M - 26x28cm - 5 Piece Reusable Bags
Regular price $14.00 AUDRegular price$14.00 AUDSale price $14.00 AUD -
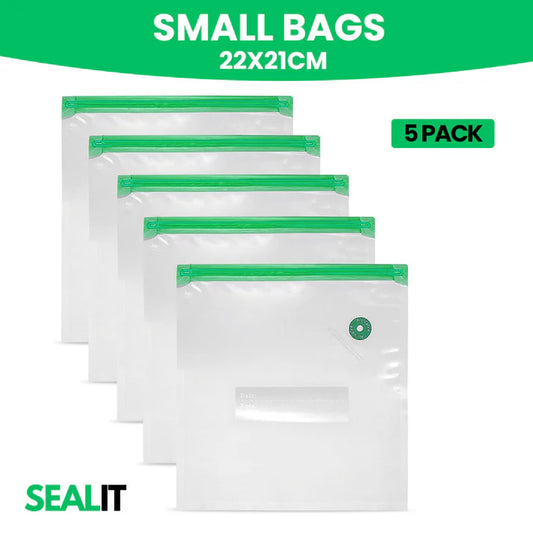
S - 22x21cm - 5 Piece Reusable Bags
Regular price $12.00 AUDRegular price$12.00 AUDSale price $12.00 AUD -
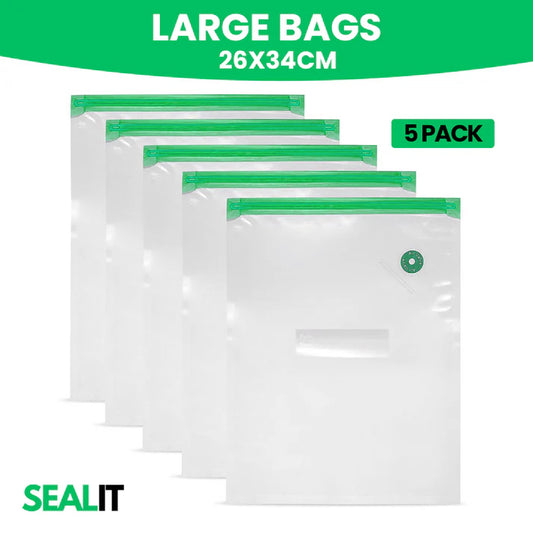
L - 26x34cm - 5 Piece Reusable Bags
Regular price $16.00 AUDRegular price$16.00 AUDSale price $16.00 AUD -
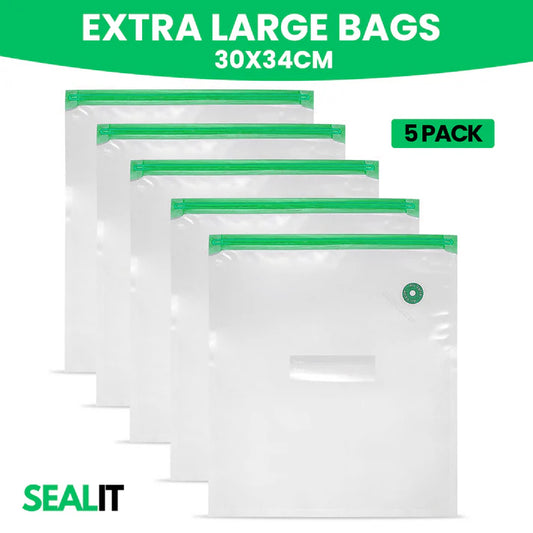
XL - 30x34cm - 5 Piece Reusable Bags
Regular price $18.00 AUDRegular price$18.00 AUDSale price $18.00 AUD